Wednesday, January 19, 2011

Saint James Landing


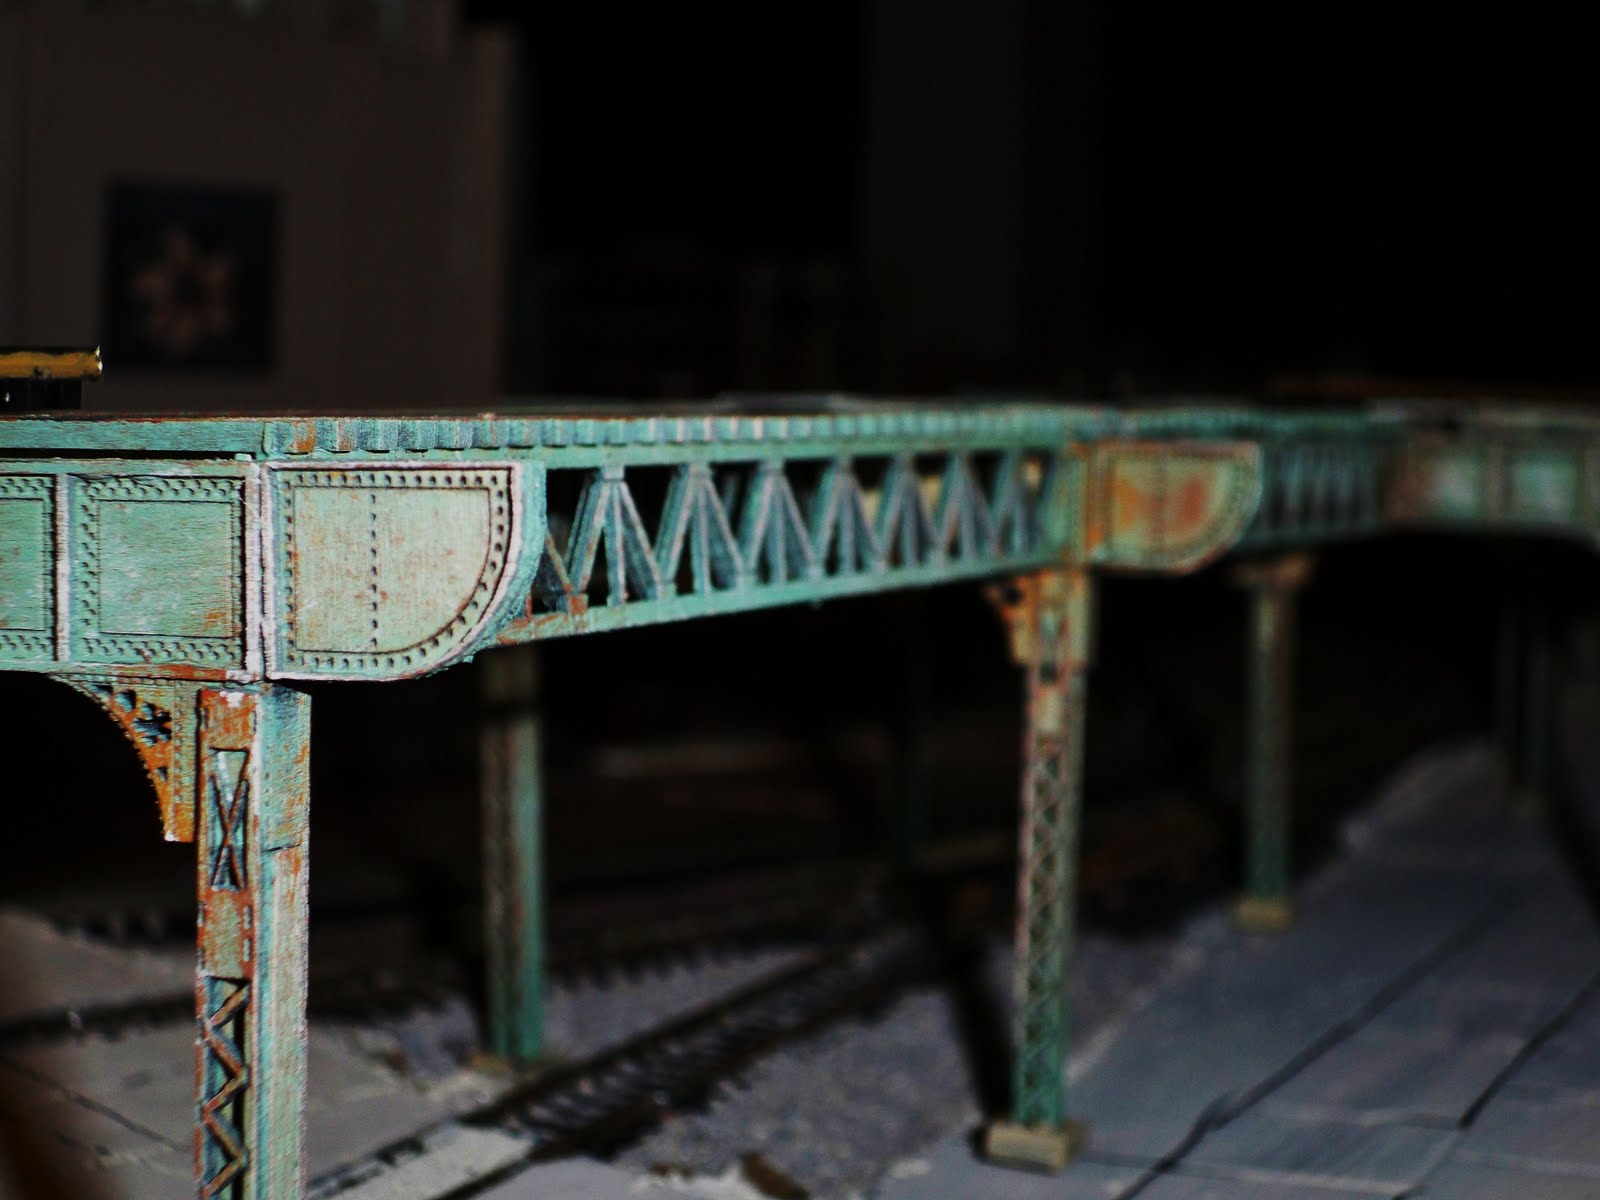
The Development of St. James Landing is moving along.  The church (St. James) was moved from the harbor area and there are some new buildings being added, while others are being moved around.  I just purchased another Brachs building kit so I can finish off the scene divider in this area. I'm also kit bashing some DPM kits into more residential type structures that'll go down Bisbee St. (Structures on a hill always remind me of Bisbee AZ, where everything seems to be on a hill.)  I'm thinking I'll put a small cemetary next to the church, as that wouldn't be too uncommon.


I'm starting to add the Chooch flexible stone walls to the landing.


All the elevations aren't correct, but you can start
to get the idea of what's to come.


Looking at the landing from the east, prior to
Bisbee St. being added.  I'm also getting
some ideas on what buildings look right.


A DPM kitbash and the start of the
drycleaning business.

A closer look at the back of the
drycleaners as it's getting
finished up.

Looking to the east and the front of the
new drycleaning business.

A new residence is started on north side
of Bisbee St., another DPM kitbash.
I need to get to work on the south side of
the street.  I'm thinking a couple more residences?

Saturday, January 8, 2011

A new year, finally a name, and a new area develops from the ground up!

2011 has arrived and the largest city has a name, "New Rahel".  It seems to roll off the tongue nicely and has some meaning as well.  I'm almost done with the passenger terminal area of town and have turned my attention to the north.  I'm calling this area St. James Landing.  It's an older neighborhood and a visual transition point from one side of the layout to the other.  Feel free to follow along as it takes shape.

 You can see the background / divider that doesn't extend to the end of the section.  St. James landing needs to make a visual transition from the industrial area on one side and the business neighborhood on the other side.
 
 Theres an overpass at the very end and behind that is a part of Ridgeway Paints manufacturing plant complex. 
2" pink foam almost brings the landing up to the level of the adjoining station and commerce area.  There is a piece of gator foam on the other area, so I can get into the track tunnel. The side of the foam will be covered with the new Chooch flexible stone walls.  It's also covering the incline on the highway overpass.

Tuesday, November 16, 2010

Willmodels Deli & Grocery build (2 story hotel)

I originally went on E-bay to find the small Barber Shop kit that Chris Brimley built.  When I noticed Willmodels had a couple of other kits I felt compelled to buy them as well.  Although the kit is similar to some of the DPM resin kits, there are some differences & enough that made me want to purchase & construct the 2 story hotel kit.  The kit like the others in their line are cast resin,  that come with all 4 walls molded in a grey resin.

There are 6 separate windows, a door, separate detail molded roof, a molded stone foundation, clear window glazing, & 2 sets of steps.  Also included is a molded frame for an exterior sign & a sheet with some waterslide decals of signs, advertising, & a sheet with window treatments. I used 4 main acrylic colors as base coats; Rust-oleum “American Accents” Cinnamon, Rust-oleum “American Accents” Teal, Rust-oleum “American Accents” London Grey, Krylon White. 
I should have washed the pieces off prior to painting, especially with acrylic spray paints.  If you don’t get all of the mold release agents & other resin dust off, your finish can look blotchy.  Mine looked alright, but not as good as I would have liked. 


I find it best to do the majority of painting, weathering, decal setting & detailing prior to assembly, while you can still lay the pieces flat.  I applied a coat of Apple Barrel Antique white water based paint over the side & rear walls, let it sit for just a few seconds & wiped it off to create the mortar lines.


The front of the building is painted brick & stone.  I dulled down the color with some blue gray, dry brushed on.  The masonry trim is also the same blue gray color.  I didn’t like the front door that was provided, as it was a full door, no glass, & a business like this would have a glass panel door.  I found one in my scrap box, cut it to fit, & painted both the front & back doors Delta Ceramcoat raw sienna.

The decals aren’t the ones supplied with the kit.  Instead of a small hotel, my building is going to be a deli & grocery.  The signage on the side of the building, are water slide decals & thinned down paper signs.  I sand down the backs of plain paper signs until their extremely thin, then, I apply glue via an Elmers glue stick & apply them to the building.  I work them into the surface so they are in the grooves & mortar lines of the building.  The sign in the front is by Vector Cut. http://www.vectorcut.com

On the back, I attached a Vector Cut security gate over the door & laid some wood decking over their concrete loading dock.

The exhaust vent is also by Vector Cut. I think it’s so cool to be able to see the fan blades behind the grill. It gives it so much depth. The roof is straight forward, has good tarpaper lines molded in & they even took the time to fit it around the pillars. I added one strip of painters tape along the front seam as it wasn’t as tight as I would’ve liked.

It’s a pretty easy kit to assemble. I used C/A adhesive to join the walls & foundation. I raised the sidewalk in the front so it will match up with its neighbor building, but left the foundation exposed on the other side & back. I also used my favorite Aleenes Tacky glue to apply the clear window glazing, as I’ve found that whenever the glazing is near C/A it tends to fog up the clear plastic.


Not that you can see it, other than along the inside roofline, but I really liked their having molded the brick detail on both sides of the side wall pieces. That way along the roof line it looks like it should & even on the interior you see exposed brick walls.


Monday, October 25, 2010

Storm Lake Mobil (Part Deux)

1st I sorted the pieces by what color
they would need to be painted. Then
I taped them onto a piece of scrap
MDF board.

After a light coat of red or white I'm ready
for assembly.


I like to use Aleenes "Tacky" glue.  You
can find it any craft store.  It holds really well
& even within 24 hours you can still manipulate
items with little to no damage.  I square up my walls
& the tab & slot design goes together quickly.

I put a thin strip of blue painters tape
around the roofs perimeter. This hides any
imperfections in the corners as well as
adds a coped effect.  When it's painted the
tape has a crinkled effect similar to rolled
roofing material.


I added some bracing as well as a
lip to attach the cardboard roof to.

The garage doors are layered so
you get a real crisp paint line
as well as depth to the door.
I made one of the doors 3/4 open so
I could add a car on a lift inside.

Without the doors it's pretty stark white.
The 2 round windows are a nice touch
& they have an added block behind
them for added depth.  The round edifice
over the doors is a piece of dowel rod.

The garage floor is pre-scribed Plastruct
sidewalk, painted barn wood gray &
in the office area I used a red fine tip
permanent marker for a checker
board floor & some scrap wood painted
red for a counter. The lift is a toothpick
with a cut & formed scrap of sheet plastic. 
All of that is painted aluminum & some
dry brushed black for wear.


Once the floor & the building are united
it comes together.  The window glazing
is clear plastic.  The signs are all plain
white paper.  I glued the signs on with
an Elmer's glue stick. I like those because
they go on flat, don't drip, & the paper
can be manipulated without worrying
about tearing.
Here's just another angle on the building.
There aren't a lot of parts to the structure
itself, so it goes together relatively
quickly.


The roof, as previously stated is simply cardboard.
I scribed some tar paper lines onto it to give
it some texture.  I then painted it black & added
some white dry brushing.  The dry brushing helps to bring out some details in the scribing & of the taped coving.


.......Coming up next?  Where to plant this in the city?


Sunday, September 12, 2010

The "Storm Lake Mobil" Builld

I thought I would attempt to do a build blog.  To follow along as I construct the "Storm Lake Mobil" kit from JL Innovative Design (http://www.jlinnovativedesign.com/) .  I'll probably be plagerising every other build blog I've ever looked at before, but I'm new to all of this, & the way I see blogging is that it's a new extension of the hobby, that I enjoy. (Even if I only have 1 follower of my blog!)  It's a diary of sorts & like the hobby of model railroading, is very cathartic!
So here goes!  I can't promise the build to go quickly, as life must still go on in the real world, but I will do the best I can. 

As you can see it's a laser cut wood kit with plastic doors & windows, a few metal parts, & plain paper signs.  It looks pretty easy & the instructions look well thought out & practical.

Thursday, September 2, 2010

"EL" AKA Run up

I'm in the home stretch on the ore dock run up.  It took a total of 10 "Imagine That" ( http://imaginethatlaserart.com/ ) elevated 2 track extension kits to complete.  The kits are really easy to build & have awesome detail.  They are laser cut wood kits & they have a natural patina from the wood & laser cut/burnish marks.  I wanted mine to match another painted bridge that adjoins it so I matched the paint & dry brushed the aged detail.  I did have to adjust one section where there's a curve & I wanted to add a switch/control tower.  The tower is a "JL Innovative Design" ( http://www.jlinnovative.com/ ) Avon St. Elevated Tower it's also a wood kit.  I thought it would add some uniqueness to the over all scene.  Some the the ideas I got were from a book on Iron Ore railroads titled, "The lake Superior Iron Ore Rasilroads" by Patrick Dorin (1977)  Some of the trackage leading up to the dock ( which I've termed "run ups") looked a bit like the "Elevated tracks".  So I thought using the Imagine that kits would work just fine.  I would've liked to lay the track myself onto the "El" but I'm not good enough or willing to be frustrated enough to try & attempt to create an "N" scale turnout from scratch.  So Peco & Atlas flex track will suffice!

Tuesday, August 3, 2010

Sectional's Complete


As you can see I've built all the sectional pieces, there are now a total of 8 sections. The original 2 are 8' x 32". The other 6 are 6' x 32". I haven't made the upper level yet on these sections primarily because I haven't quite decided yet on the way I'm going to get the train from one level tothe other. I'm not a fan of helix', too much unseen trackage. I'm leaning towards a sort of Tehachapi loop kind of set up so I won't have this long continuous uphill climb. That would take up to much realestate.


Here are a few more shots of the lead up to the ore dock that I've been working on as well as the kitbashed bridges & some roadway underneath them. I had to start some of them or working on them afterwords would have been a pain.


The last 2 shots are from the other side of the city showing lead up bridge at a different angle. You can also get an idea as to how how these 2 sections join as apposed to how they used to be joined (from an earlier blog post). The last shot I did for Lynn Lunde. I met her & Bob at the national convention in Milwaukee last month. I sent her some pictures of one of their buildings (Schwitters Department store) that I completed. I think it turned out pretty well.